
In short
- Every drawing starts with shapes you know: circles, ovals, triangles.
- Draw lightly in pencil, one step at a time, and hide the steps you haven't reached.
- Copy it once, then change one thing: that's when the drawing becomes yours.
- Level
- Beginner friendly
- Time
- About 15 minutes per drawing
Anyone can learn to draw step by step. The trick is to stop trying to draw the whole picture at once and draw shapes instead: a circle, an oval, two small triangles. Put them together in the right order and a cat appears.
That's how every drawing in our How to Draw books works. Below is the method in six steps, with real pages from the books, plus which book suits which young artist. It works for kids from about 6, and for grown-ups who have been saying "I can't draw" since third grade.

1. Start with shapes you already know
Look at the first step of any drawing in the book. It's never an eye or a paw. It's a circle for the head, an oval for the body, a line for the ground. You drew those shapes in kindergarten, so the hard part is already done.
Before you start, name the shapes out loud with your child: "big circle, small circle, triangle ears." It sounds silly. It works.
2. Draw lightly, in pencil
The first lines are a sketch, not the final drawing. Hold the pencil a little further from the tip and press gently, so the guide lines are easy to erase later. Dark, heavy lines at the start are the main reason a drawing looks messy at the end.
3. One step at a time, and hide the rest
Each drawing in our books shows the steps in order, and each step adds only a few lines. Kids often jump straight to the finished picture and get frustrated. Slide a sheet of paper over the page so only the next step shows. Copy it, then move the paper.
If a step goes wrong, go back one step, not to the beginning.
4. Copy it once, then change one thing
The first time, copy the drawing as it is. The second time, change one thing: a hat, a bigger smile, a different pose. That small change is where kids start to feel the drawing is theirs, and it's how a page of how-to steps turns into their own characters.
5. Give it a face
Eyes and mouth do most of the work. Two dots and a curve make a happy face; raise the eyebrows and it's surprised. Older kids and teens who love anime can go further: The Ultimate Guide on How to Draw Anime & Manga for Beginners by Ren Ebit starts with eyes and expressions and builds up to full characters.

6. Color it, sign it, date it
When the pencil drawing is done, go over the lines you want to keep with a darker pencil or a fineliner, erase the guide lines, and color it in. Then sign it and write the date in a corner. A month from now, put the first drawing next to the newest one. That comparison is the best motivation we know.
Which How to Draw book for which artist?
We publish quite a few, and the covers look alike, so here's the quick guide. The colors aren't just covers: each edition has different subjects.
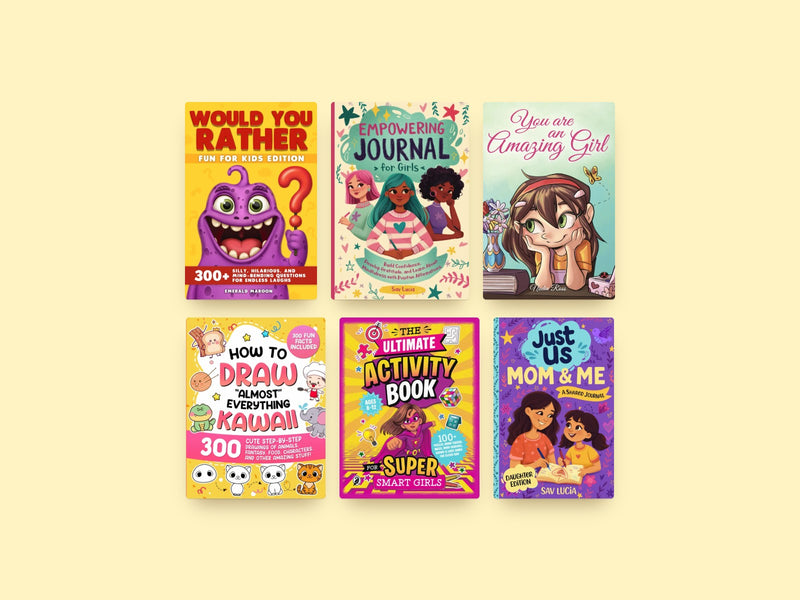
- First drawings, ages 6 and up: How to Draw "Almost" Everything for Kids has 300 drawings, each with a fun fact. The Pink Edition has animals, treats and fashion, the Blue Edition has insects, dinosaurs and space, and the Teal Edition has food, cars and fantasy.
- Very simple shapes, ages 4 to 12: How to Draw Everything for Kids (400), Purple Edition by Renata Souza breaks every drawing into simple shapes any beginner can follow: animals, unicorns, mermaids, fashion. The Blue Edition has cars, robots, dinosaurs and rockets.
- Cute things fans: How to Draw "Almost" Everything Kawaii, 300 drawings with big eyes and sweet smiles, and How to Draw 400 Cute Stuff for Kids by Saemi Oliveira.
- Kids who never want to run out: How to Draw Everything for Kids (800) by Renata Souza, or How to Draw 800 Cute Stuff for Kids by Saemi Oliveira, two favorites in one big book.
- Teens and grown-ups: Ren Ebit's anime and manga guide, or The Ultimate Guide on How to Draw Realistic Things in 3D by Luara Rios, with pencil lessons on light, shadow and texture.

Common mistakes (and easy fixes)
- Pressing hard from the first line. Guide lines won't erase. Sketch lightly, go darker at the end.
- Jumping to the finished picture. It looks impossible. Cover the page and follow one step at a time.
- Drawing too small. Details get cramped. Use at least half a page for the first drawings.
- Erasing everything after one wrong line. Go back one step, not to the beginning.
- Comparing with the book. Compare with your own first drawing instead.
Your first drawing tonight
Pick one simple drawing, a cat, a cupcake or a star, and give it fifteen minutes. Draw it twice: once by copying, once with your own change. Keep both.
Want to add color? Try the tips in 7 crayon techniques for richer, bolder color.
Questions about learning to draw
At what age can kids start with step-by-step drawing?
Most of our How to Draw books are for ages 6 and up, and the How to Draw Everything for Kids (400) and (800) books are for ages 4 to 12, with drawings broken into very simple shapes.
Can grown-ups use a kids' drawing book?
Yes. The method is the same at any age, and cute subjects are a relaxing place to start. For a more grown-up style, try Ren Ebit's anime and manga guide or Luara Rios's book on drawing realistic things in 3D.
What's the difference between the Pink, Blue and Teal editions?
The subjects. For example, the Pink Edition of How to Draw "Almost" Everything for Kids has animals, treats and fashion, the Blue Edition has insects, dinosaurs and space, and the Teal Edition has food, cars and fantasy.
My child gets frustrated quickly. Any tips?
Cover the steps you haven't reached, start with a short drawing, and draw side by side. If a step goes wrong, go back one step instead of starting over.
Want a page to practice on?
Get free printable pages